Guide · 2 min read
How to Convert JPG to PDF
The oMyPDF JPG to PDF tool combines multiple images into one PDF — reorder them, choose the page size and layout, and convert JPG to PDF without losing quality. Smaller sets are converted right inside your browser, so nothing leaves your device.
Quick overview
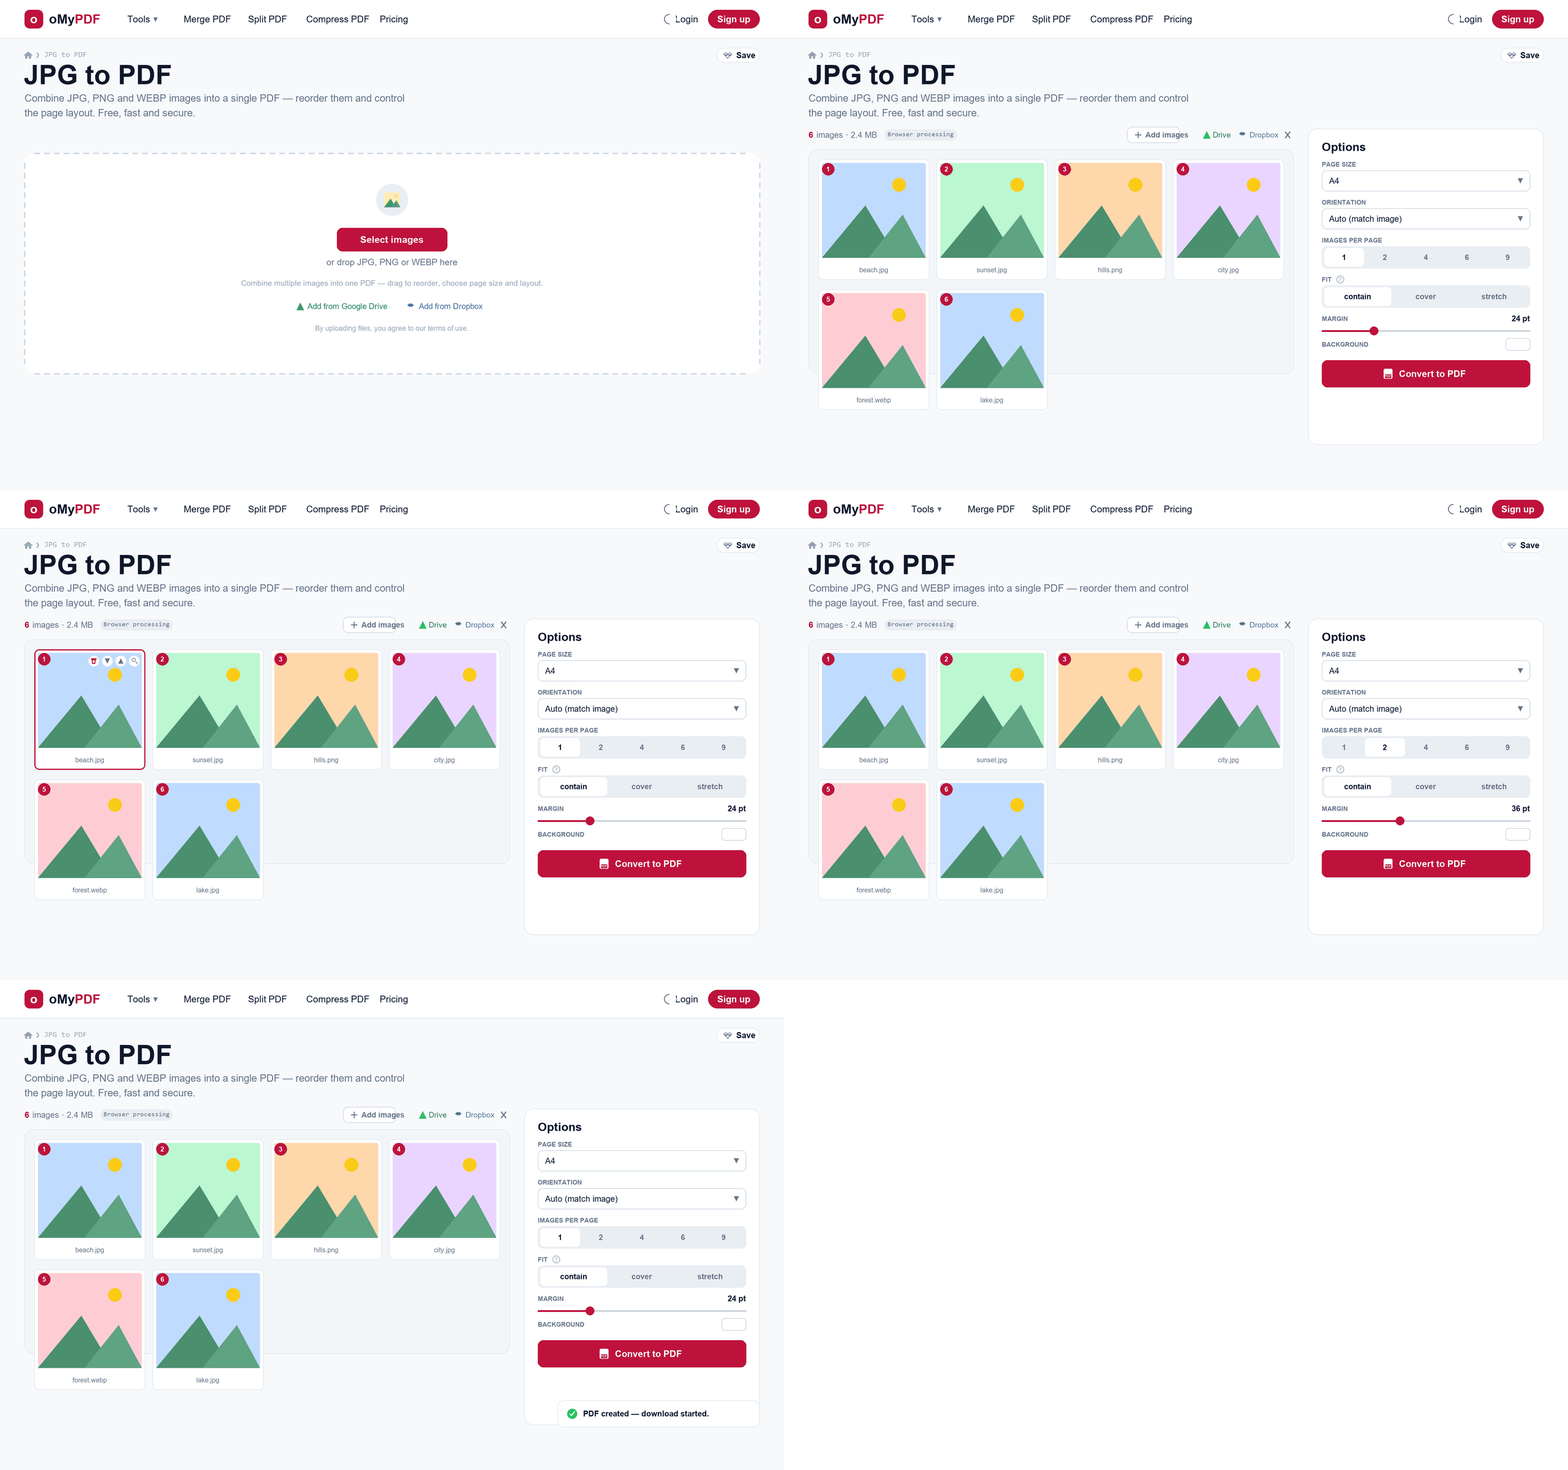
The full workflow: add images, reorder them, choose the page layout, then convert and download.
Step-by-step
- 1
Open the tool
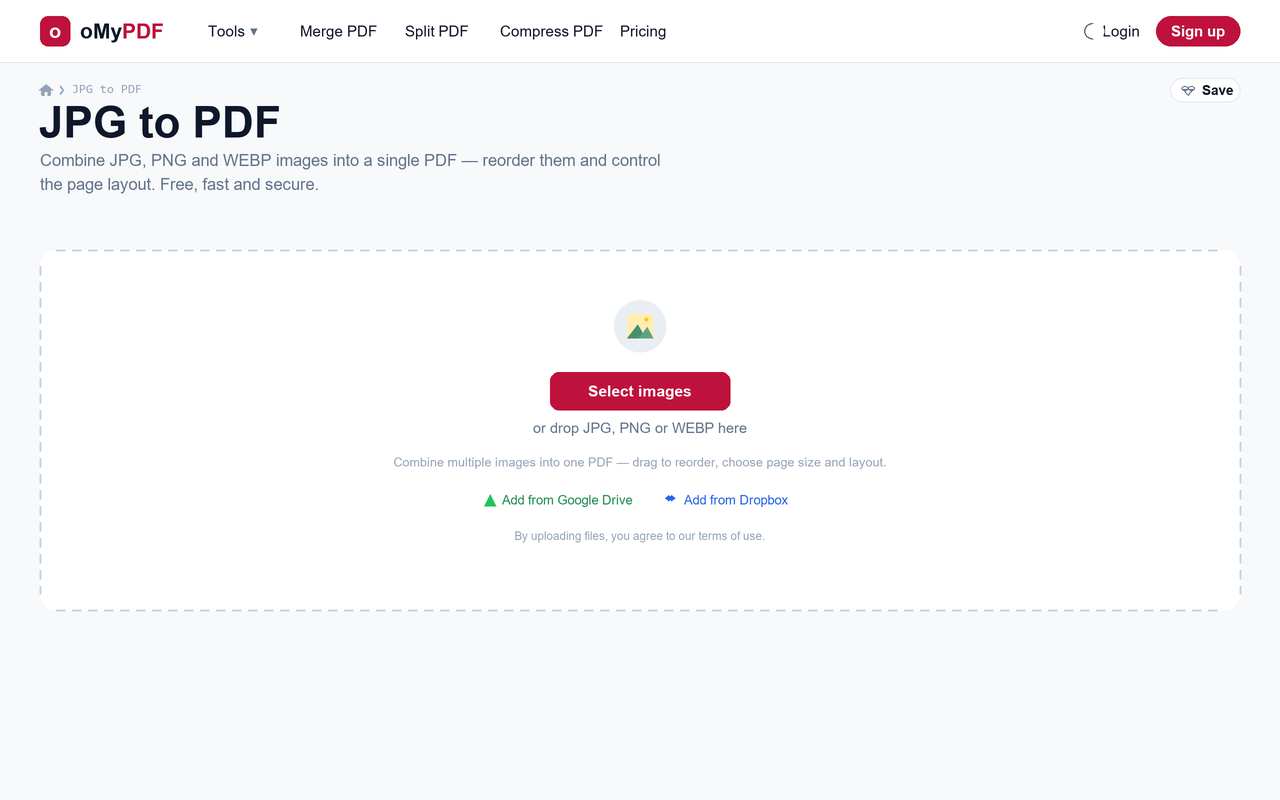
Go to the JPG to PDF page. Click Select images, or drag your JPG, PNG or WEBP files straight onto the upload area.
- 2
Add your images
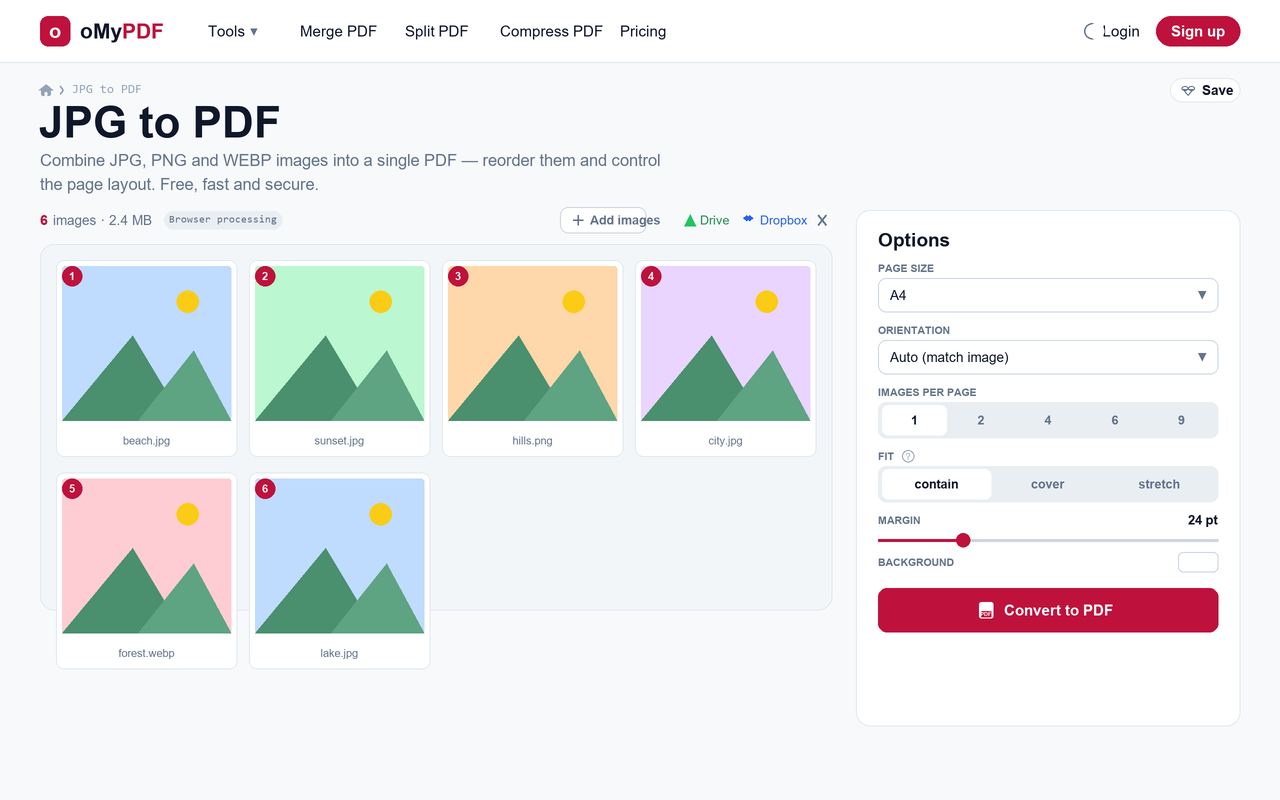
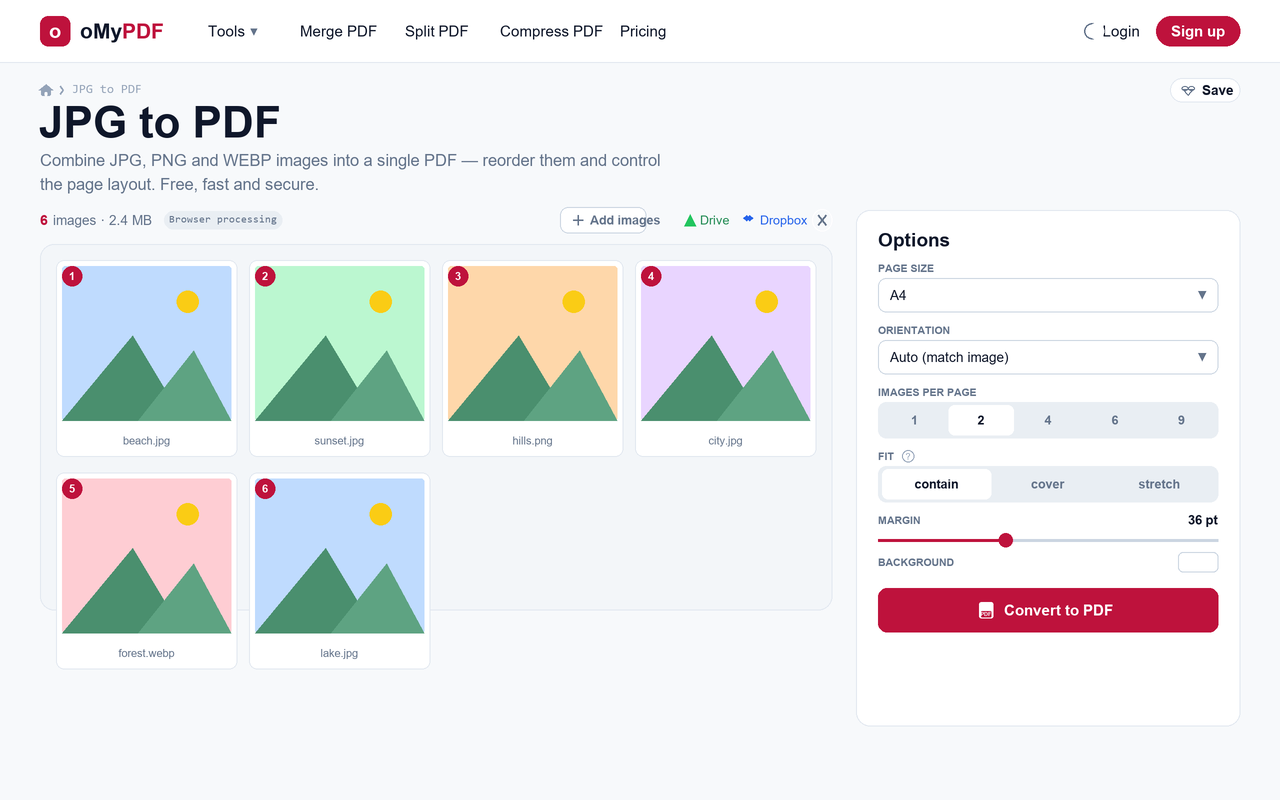
Pick one or more images (mix JPG, PNG and WEBP freely). Each one appears as a numbered thumbnail, with an Options panel on the right and a running count and total size at the top.
- 3
Reorder the images
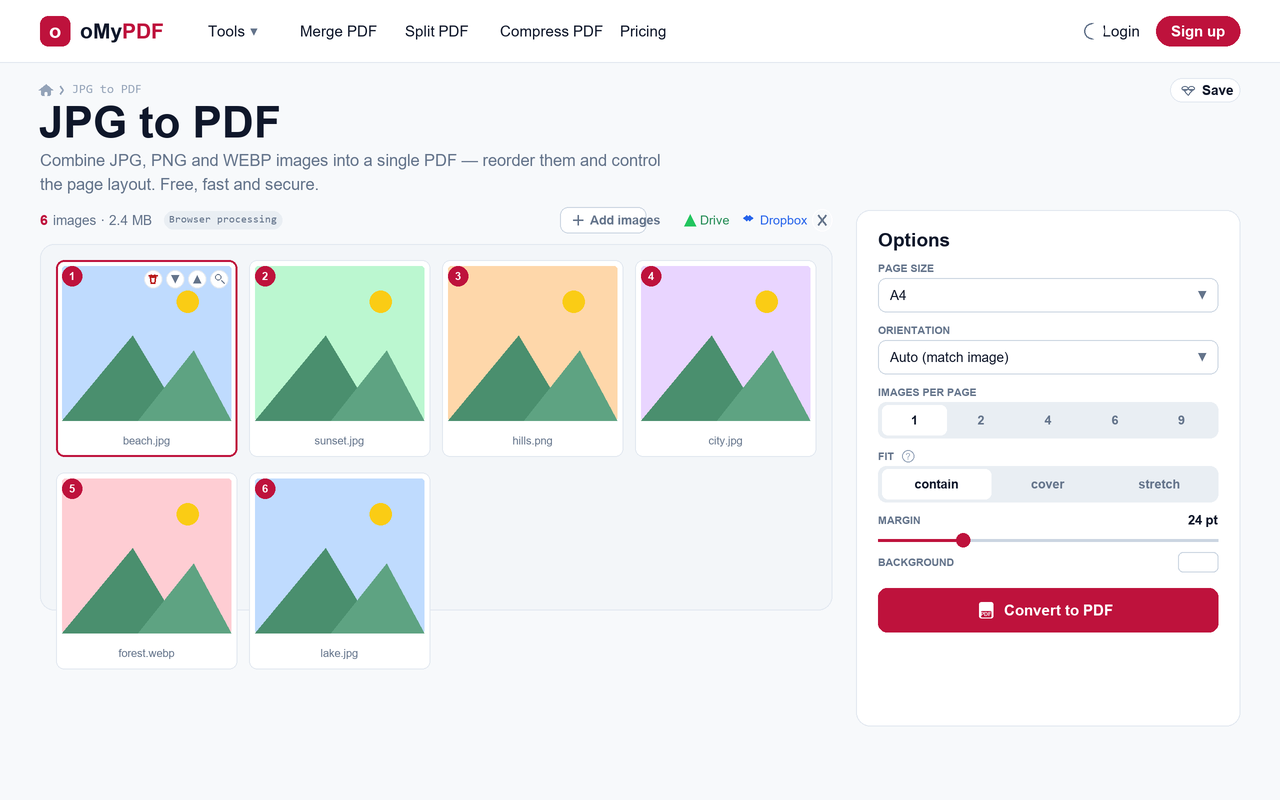
The page order follows the numbers. Drag a thumbnail to move it, or use the up/down arrows on each card — click the trash icon to drop one, or the magnifier to preview it full-size.
- 4
Choose page size & layout
In Options, set the Page size (A4, Letter, Legal or Fit to image), Orientation, how many Images per page (1, 2, 4, 6 or 9), the Fit mode, the margin and a background colour.
- 5
Convert & download
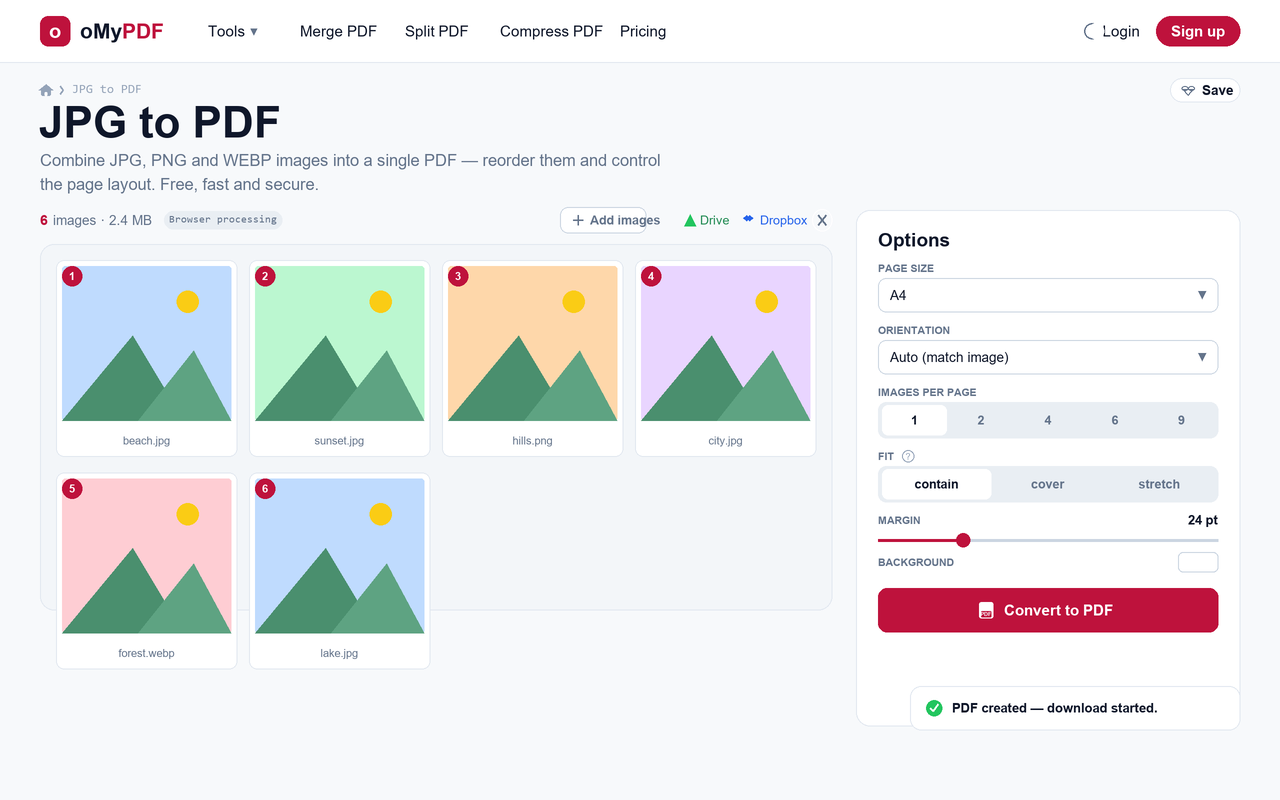
Click Convert to PDF. Your images are combined into a single PDF and it downloads automatically — with no watermark on the output.
Tips
- Mix formats freely: JPG and PNG embed directly, while WEBP, GIF and BMP are converted automatically in your browser — so you can combine multiple images into one PDF in any format.
- More than one per page: choose 2, 4, 6 or 9 images per page to build neat contact-sheet style layouts and save paper.
- Fit vs. quality: “Fit to image” keeps each photo's exact proportions with no cropping, so you convert JPG to PDF without losing quality.
- Stays private: smaller sets are converted right in your browser and never uploaded; larger batches use encrypted server processing and are deleted right after.
Ready to convert your images?
Free, private, and no sign-up required.